§Article
← All writingLightning-Fast Table Updates in Next.js 16: The React Query Optimistic Update Pattern
Learn how to implement optimistic updates in Next.js 16 using React Query to provide a seamless user experience.
- Published
- Reading
- 11 min read
- Filed under
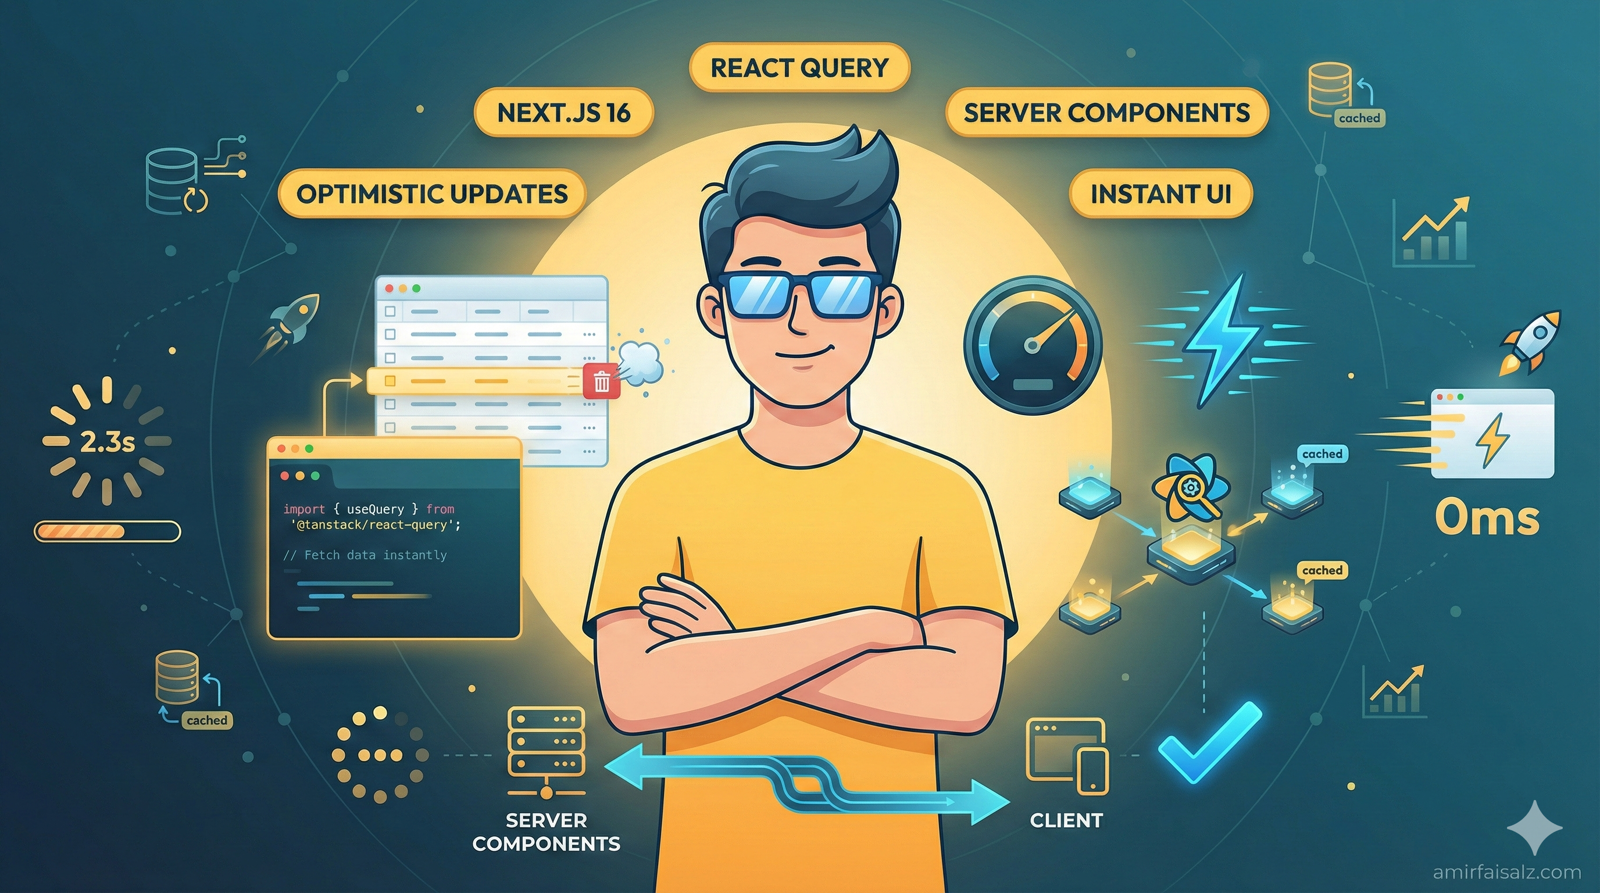
If you’ve built a data table in Next.js 16 with Server Components, you’ve probably hit this frustrating wall: deletions and updates take forever because you’re refetching from the server every single time.
I was there too. Every time a user deleted a row, they’d sit there watching a spinner for 2-3 seconds while the entire page re-fetched data from the database. It felt sluggish and outdated, especially compared to modern apps that update instantly.
Here’s how I solved it—and how you can make your Next.js tables feel lightning-fast with React Query’s optimistic updates.
The Problem: Server Components vs. Client Interactivity
Next.js 16 encourages Server Components for data fetching. It’s great for initial page loads, but here’s where it breaks down:
// app/users/page.tsx - Server Component
export default async function UsersPage() {
  const users = await fetchUsers(); // Fetched on server

  return <UsersTable data={users} />;
}
When you delete a row in your client component, you have two bad options:
- Use
router.refresh()- Refetches the entire server component (slow!) - Use Server Actions with
revalidatePath()- Still requires a server round-trip
Both approaches feel sluggish because the UI waits for the server to respond before updating.
The Solution: Server Components + React Query
The trick is to use Server Components for the initial data fetch, then hand off all subsequent operations to React Query on the client side. This gives you:
- Instant UI updates (optimistic rendering)
- Automatic background revalidation
- Smart caching and request deduplication
- Built-in error handling and rollback
Let’s build it step by step.
Step 1: Set Up React Query Provider
First, install React Query:
npm install @tanstack/react-queryCreate a query client utility. This pattern avoids issues with React Suspense and ensures proper client/server handling:
// lib/get-query-client.ts
import {
QueryClient,
defaultShouldDehydrateQuery,
isServer,
} from '@tanstack/react-query';

function makeQueryClient() {
  return new QueryClient({
    defaultOptions: {
      queries: {
        staleTime: 60 * 1000, // Data stays fresh for 1 minute
      },
      dehydrate: {
        // Include pending queries in dehydration
        shouldDehydrateQuery: (query) =>
          defaultShouldDehydrateQuery(query) ||
          query.state.status === 'pending',
      },
    },
  });
}

let browserQueryClient: QueryClient | undefined = undefined;

export function getQueryClient() {
  if (isServer) {
    // Server: always make a new query client
    return makeQueryClient();
  } else {
    // Browser: reuse client if it exists to prevent re-creation during Suspense
    if (!browserQueryClient) browserQueryClient = makeQueryClient();
    return browserQueryClient;
  }
}
Now create a simple providers file:
// app/providers.tsx
'use client';

import { QueryClientProvider } from '@tanstack/react-query';
import { ReactNode } from 'react';
import { getQueryClient } from '@/lib/get-query-client';

export function Providers({ children }: { children: ReactNode }) {
  const queryClient = getQueryClient();

  return (
      <QueryClientProvider client={queryClient}>
        {children}
      </QueryClientProvider>
  );
}
Wrap your root layout with the provider:
// app/layout.tsx
import { Providers } from './providers';
import './globals.css';

export default function RootLayout({ children }: { children: ReactNode; }) {
return (
  <html lang="en">
    <body>
      <Providers>{children}</Providers>
    </body>
  </html>
);
}
Why this pattern? TanStack Query v5 recommends avoiding useState for QueryClient initialization when using Next.js App Router. The getQueryClient() utility handles server/browser differences and prevents React from throwing away the client during Suspense.
Step 2: Create Your API Functions
Define your API calls in a separate file. This keeps your code clean and reusable:
// lib/api.ts
export interface User {
  id: string;
  name: string;
  email: string;
  role: string;
}

const API_BASE = process.env.NEXT_PUBLIC_API_URL || 'https://api.example.com';

export async function getUsers(): Promise<User[]> {
  const res = await fetch(API_BASE + '/users', {
    cache: 'no-store', // Important for Server Components
  });

  if (!res.ok) throw new Error('Failed to fetch users');
  return res.json();
}

export async function deleteUser(id: string): Promise<void> {
  const res = await fetch(API_BASE + '/users/' + id, {
      method: 'DELETE',
  });

  if (!res.ok) throw new Error('Failed to delete user');
}

export async function updateUser( id: string, data: Partial<User> ): Promise<User> {
  const res = await fetch(API_BASE + '/users/' + id, {
      method: 'PATCH',
      headers: { 'Content-Type': 'application/json' },
      body: JSON.stringify(data),
  });

  if (!res.ok) throw new Error('Failed to update user');
  return res.json();
}
Pro tip: Use environment variables for your API URLs so you can easily switch between development and production.
Step 3: Prefetch Data in Server Component
This is where Next.js 16 and TanStack Query v5 shine together. Use prefetchQuery with HydrationBoundary to prefetch data on the server and hydrate it on the client:
// app/users/page.tsx
import { dehydrate, HydrationBoundary } from '@tanstack/react-query';
import { getQueryClient } from '@/lib/get-query-client';
import { UsersTable } from '@/components/UsersTable';
import { getUsers } from '@/lib/api';

// No async needed - we don't await the prefetch
export default function UsersPage() {
  const queryClient = getQueryClient();

  // Kick off prefetch without blocking (streaming-friendly)
  void queryClient.prefetchQuery({
      queryKey: ['users'],
      queryFn: getUsers,
  });

  return (
      <div className="container mx-auto p-8">
          <h1 className="text-3xl font-bold mb-6">Users Management</h1>

          {/* HydrationBoundary serializes the cache for client hydration */}
          <HydrationBoundary state={dehydrate(queryClient)}>
              <UsersTable />
          </HydrationBoundary>
      </div>
  );
}
Why this is powerful: The HydrationBoundary serializes the prefetched data and hydrates the client-side cache automatically. No prop drilling needed!
The Secret Sauce: Understanding HydrationBoundary
Let’s understand why HydrationBoundary + prefetchQuery is the recommended pattern in TanStack Query v5:
Without prefetching (❌ Not optimal):
const { data: users, isPending } = useQuery({
  queryKey: ['users'],
  queryFn: getUsers,
  // No prefetch - causes a flash of loading state!
});

if (isPending) return <div>Loading...</div>; // Users see this spinner
When your component mounts, React Query doesn’t have any data yet, so it starts fetching. This means:
- Users see a loading spinner even though the server could have prefetched the data
- You’re making an unnecessary duplicate request
- Poor user experience with flickering content
With HydrationBoundary (✅ Optimal):
// Server Component: prefetch + dehydrate
void queryClient.prefetchQuery({
  queryKey: ['users'],
  queryFn: getUsers,
});

<HydrationBoundary state={dehydrate(queryClient)}>
  <UsersTable /> {/* No props needed! */}
</HydrationBoundary>

// Client Component: just useQuery
const { data: users = [] } = useQuery({
  queryKey: ['users'],
  queryFn: getUsers,
});
Now React Query immediately has data from the hydrated cache:
- Zero loading state - Content appears instantly
- No duplicate requests - The prefetched data is reused
- No prop drilling - Data comes from hydrated cache, not props
- Smooth hydration - Client picks up exactly where server left off
How the flow works:
- Server Component runs →
void prefetchQuerykicks off data fetch without blocking - Dehydration →
dehydrate(queryClient)serializes cache state (including pending queries) - Streaming → Next.js streams content to browser as it becomes ready
- HydrationBoundary → Rehydrates the cache on the client
- useQuery runs → Data is immediately available from hydrated cache
- User interacts → All mutations now use React Query’s cache
This is the bridge between server-side rendering and client-side interactivity. You get the best of both worlds:
- First paint: Fast (server-rendered)
- Time to interactive: Fast (no refetch needed)
- Subsequent updates: Instant (optimistic updates)
Step 4: Create Reusable Mutation Hooks
To keep your components clean, let’s extract all React Query mutations into custom hooks:
// lib/hooks/useUserMutations.ts
import { useMutation, useQueryClient } from '@tanstack/react-query';
import { deleteUser, updateUser, type User } from '@/lib/api';

export function useDeleteUser() {
const queryClient = useQueryClient();

return useMutation({
  mutationFn: deleteUser,

  // This runs BEFORE the API call
  onMutate: async (deletedId) => {
    // Cancel any outgoing refetches
    await queryClient.cancelQueries({ queryKey: ['users'] });

    // Snapshot the previous state
    const previousUsers = queryClient.getQueryData<User[]>(['users']);

    // Optimistically remove the user from UI
    queryClient.setQueryData<User[]>(['users'], (old) =>
      old?.filter((user) => user.id !== deletedId) ?? []
    );

    // Return context with previous state for rollback
    return { previousUsers };
  },

  // If the API call fails, rollback
  onError: (err, deletedId, context) => {
    if (context?.previousUsers) {
      queryClient.setQueryData(['users'], context.previousUsers);
    }
    console.error('Failed to delete user:', err);
  },

  // After success or failure, sync with server
  onSettled: () => {
    queryClient.invalidateQueries({ queryKey: ['users'] });
  },
});
}

export function useUpdateUser() {
const queryClient = useQueryClient();

return useMutation({
  mutationFn: ({ id, data }: { id: string; data: Partial<User> }) =>
    updateUser(id, data),

  onMutate: async ({ id, data }) => {
    await queryClient.cancelQueries({ queryKey: ['users'] });
    const previousUsers = queryClient.getQueryData<User[]>(['users']);

    // Optimistically update the user in UI
    queryClient.setQueryData<User[]>(['users'], (old) =>
      old?.map((user) =>
        user.id === id ? { ...user, ...data } : user
      ) ?? []
    );

    return { previousUsers };
  },

  onError: (err, variables, context) => {
    if (context?.previousUsers) {
      queryClient.setQueryData(['users'], context.previousUsers);
    }
    console.error('Failed to update user:', err);
  },

   onSettled: () => {
    queryClient.invalidateQueries({ queryKey: ['users'] });
   },
 });
}
Why extract mutations into hooks?
- Reusability: Use the same mutation logic across multiple components
- Testability: Easy to test mutations in isolation
- Maintainability: Update mutation logic in one place
- Clean components: Your UI components focus on rendering, not data logic
- Consistency: All mutations follow the same pattern
Step 5: Build the Clean Client Component
Now your component is much simpler and focused purely on UI. Thanks to HydrationBoundary, no props are needed - the data comes from the hydrated cache:
// components/UsersTable.tsx
'use client';

import { useState } from 'react';
import { useQuery } from '@tanstack/react-query';
import { getUsers, type User } from '@/lib/api';
import { useDeleteUser, useUpdateUser } from '@/lib/hooks/useUserMutations';

export function UsersTable() {
const [editingId, setEditingId] = useState<string | null>(null);

// Data is immediately available from hydrated cache - no props needed!
const { data: users = [] } = useQuery({
  queryKey: ['users'],
  queryFn: getUsers,
});

// Import and use mutation hooks - all logic is in the hooks!
const deleteMutation = useDeleteUser();
const updateMutation = useUpdateUser();

const handleDelete = (id: string) => {
  if (confirm('Are you sure you want to delete this user?')) {
    deleteMutation.mutate(id, {
      onError: () => {
        alert('Failed to delete user. Please try again.');
      },
    });
  }
};

const handleUpdate = (id: string, name: string, email: string) => {
  updateMutation.mutate(
    { id, data: { name, email } },
    {
      onSuccess: () => {
        setEditingId(null);
      },
      onError: () => {
        alert('Failed to update user. Please try again.');
      },
    }
  );
};

return (
  <div className="bg-white rounded-lg shadow overflow-hidden">
    <table className="min-w-full divide-y divide-gray-200">
      <thead className="bg-gray-50">
        <tr>
          <th className="px-6 py-3 text-left text-xs font-medium text-gray-500 uppercase tracking-wider">
            Name
          </th>
          <th className="px-6 py-3 text-left text-xs font-medium text-gray-500 uppercase tracking-wider">
            Email
          </th>
          <th className="px-6 py-3 text-left text-xs font-medium text-gray-500 uppercase tracking-wider">
            Role
          </th>
          <th className="px-6 py-3 text-left text-xs font-medium text-gray-500 uppercase tracking-wider">
            Actions
          </th>
        </tr>
      </thead>
      <tbody className="bg-white divide-y divide-gray-200">
        {users.map((user) => (
          <tr key={user.id} className="hover:bg-gray-50 transition-colors">
            <td className="px-6 py-4 whitespace-nowrap">
              {editingId === user.id ? (
                <input
                  type="text"
                  defaultValue={user.name}
                  id={`name-${user.id}`}
                  className="border border-gray-300 rounded px-2 py-1 text-sm focus:outline-none focus:ring-2 focus:ring-blue-500"
                />
              ) : (
                <div className="text-sm font-medium text-gray-900">
                  {user.name}
                </div>
              )}
            </td>
            <td className="px-6 py-4 whitespace-nowrap">
              {editingId === user.id ? (
                <input
                  type="email"
                  defaultValue={user.email}
                  id={`email-${user.id}`}
                  className="border border-gray-300 rounded px-2 py-1 text-sm focus:outline-none focus:ring-2 focus:ring-blue-500"
                />
              ) : (
                <div className="text-sm text-gray-500">{user.email}</div>
              )}
            </td>
            <td className="px-6 py-4 whitespace-nowrap">
              <span className="px-2 inline-flex text-xs leading-5 font-semibold rounded-full bg-green-100 text-green-800">
                {user.role}
              </span>
            </td>
            <td className="px-6 py-4 whitespace-nowrap text-sm font-medium">
              <div className="flex gap-2">
                {editingId === user.id ? (
                  <>
                    <button
                      onClick={() => {
                        const nameInput = document.getElementById(`name-${user.id}`) as HTMLInputElement;
                        const emailInput = document.getElementById(`email-${user.id}`) as HTMLInputElement;
                        handleUpdate(user.id, nameInput.value, emailInput.value);
                      }}
                      className="px-3 py-1 bg-green-600 text-white rounded hover:bg-green-700 transition-colors"
                    >
                      Save
                    </button>
                    <button
                      onClick={() => setEditingId(null)}
                      className="px-3 py-1 bg-gray-500 text-white rounded hover:bg-gray-600 transition-colors"
                    >
                      Cancel
                    </button>
                  </>
                ) : (
                  <>
                    <button
                      onClick={() => setEditingId(user.id)}
                      className="px-3 py-1 bg-blue-600 text-white rounded hover:bg-blue-700 transition-colors"
                    >
                      Edit
                    </button>
                    <button
                      onClick={() => handleDelete(user.id)}
                      disabled={deleteMutation.isPending}
                      className="px-3 py-1 bg-red-600 text-white rounded hover:bg-red-700 transition-colors disabled:opacity-50 disabled:cursor-not-allowed"
                    >
                      {deleteMutation.isPending ? 'Deleting...' : 'Delete'}
                    </button>
                  </>
                )}
              </div>
            </td>
          </tr>
        ))}
      </tbody>
    </table>
  </div>
);
}
Understanding the Magic: How Optimistic Updates Work
Let’s break down what happens when a user clicks “Delete” with our custom hook:
- User clicks “Delete” →
deleteMutation.mutate(id)is called onMutateinuseDeleteUserruns immediately → The row disappears from the UI instantly (before any API call)- API call happens in the background → The actual deletion request is sent to your server
- If it fails,
onErrorrolls back → The row reappears (React Query restores the snapshot) - Component’s
onErrorcallback → Shows user-friendly error message onSettledsyncs with server → Background refetch ensures data is consistent
This gives you the instant feedback of a client-side app with the reliability of server verification.
Project Structure Overview
Here’s how your files should be organized:
your-app/
├── app/
│   ├── layout.tsx              # Root layout with Providers
│   ├── providers.tsx           # React Query Provider
│   └── users/
│       └── page.tsx            # Server Component (prefetch + HydrationBoundary)
├── components/
│   └── UsersTable.tsx          # Client Component (UI only)
└── lib/
  ├── api.ts                  # API functions
  ├── get-query-client.ts     # Query client utility
  └── hooks/
      └── useUserMutations.ts # Custom mutation hooks
Benefits of this structure:
- Clear separation of concerns: Server logic, API calls, mutations, and UI are all separate
- Easy to scale: Add new mutations without cluttering components
- Simple testing: Each piece can be tested independently
- Better IntelliSense: TypeScript knows exactly what each part does
Bonus: Loading and Error States
Want to show loading indicators? React Query makes it trivial. In v5, use isPending for the loading state:
const { data: users, isPending, error } = useQuery({
  queryKey: ['users'],
  queryFn: getUsers,
});

if (isPending) return <div>Loading users...</div>;
if (error) return <div>Error: {error.message}</div>;
When to Use This Pattern
This approach is perfect for:
- Admin dashboards with data tables
- CRUD applications with frequent updates
- Any UI where instant feedback matters
- Apps with slow or unreliable API connections
You might not need it for:
- Simple read-only pages
- Forms that navigate away after submission
- Apps where server-side validation is critical before showing changes
Wrapping Up
The combination of Next.js 16 Server Components for initial data fetching and React Query for client-side mutations gives you the best of both worlds:
- Fast initial page loads (server-rendered)
- Instant UI updates (optimistic rendering)
- Bulletproof error handling (automatic rollback)
- Smart caching (fewer API calls)
Try it in your next Next.js project. Your users will thank you for the snappy experience!
Bagikan artikel
Artikel terkait

Komentar (0)
Memuat komentar...